
0
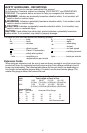
Owner's of the Black & Decker Cordless Drill BLACK&DECKER 3/8 in. (10MM) and 1/2 in. (13MM) DRILLS gave it a score of 0 out of 5. Here's how the scores stacked up:
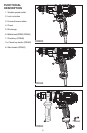
Operating Instructions
WARNING: To reduce the risk of serious personal injury, read, understand and
follow all safety warnings and instructions prior to using tool.
WARNING: It is important to support the work properly and to hold the drill
firmly to prevent loss of control which could cause personal injury. If you have any
questions on how to properly operate tool, call: 1-800-544-6986.
WARNING: Do not attempt to tighten drill bits (or any other accessory) by
gripping the front part of the chuck and turning the tool on. Damage to the chuck
and personal injury may occur when changing accessories.
WARNING: To reduce the risk of injury, always unplug drill from power supply
before making any adjustments or changing accessories.
WARNING: To reduce the risk of injury, let the tool work at its own pace. Do not
overload.
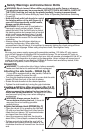
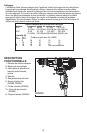
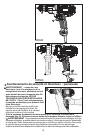
Selecting the direction of rotation
For drilling and for tightening screws, use forward (clockwise) rotation. For loosening
screws or removing a jammed drill bit, use reverse (counterclockwise) rotation.
WARNING: Never change the direction of rotation while the motor is running.
Models DR260, DR340
• To select forward rotation, push the forward/reverse slider (3) to the right (when viewed
from the chuck end).
• To select reverse rotation, push the forward/reverse slider (3) to the left (when viewed
from the chuck end).
Model DR560
• To select forward rotation, push the forward/reverse slider (3) to the left (when viewed
from the chuck end).
• To select reverse rotation, push the forward/reverse slider (3) to the right (when viewed
from the chuck end).
Switching on and off
• To switch the tool on, press the variable speed switch (1). The tool speed depends on
how far you press the switch.
• For continuous operation, press the lock-on button (2) and release the variable speed
switch. This option is available only at full speed.
• To switch the tool off, release the variable speed switch. To switch the tool off when in
continuous operation, press the variable speed switch once more and release it.
WARNING: The drill should only be locked ON when it is held stationary in a drill
press stand or other means; NOT BY HAND! Never unplug the tool with the locking
feature engaged. To do so will cause the tool to start immediately the next time it is
plugged in.
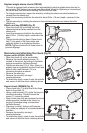
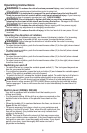
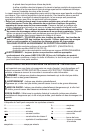
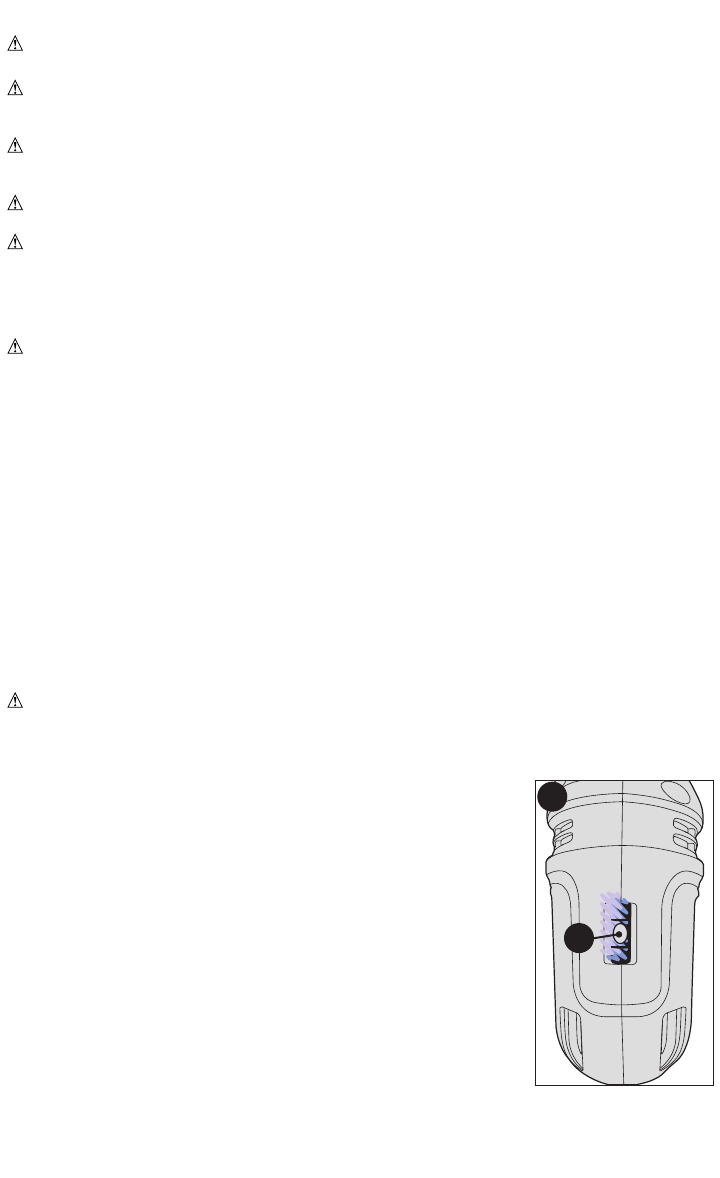
Built-in level (DR260, DR340)
Your drill is equipped with a bubble level that assists you in
drilling level holes.
• For horizontal drilling, tilt the drill up or down as required so the
bubble floats in the center of the parallel lines drawn on the
glass.
• When the bubble (6) is centered between the lines, as shown in
figure G, the drill is level.
• To assure accuracy, first place a level on your workpiece and
position it so that it is level. Then, when the drill reads level, the
two will be aligned. (Any bubble level can only indicate level
relative to the earth.)
NOTE: The level is filled with mineral oil that may cause minor
skin or eye irritation when contacted. If the level breaks and this
fluid gets on your skin, rinse thoroughly with water. If any liquid
gets in your eyes, rinse thoroughly with water and call a
physician immediately.
G
6
8


Find Your Products By Category
Please Login
