
3.6
Owner's of the Bostitch Nail Gun Bostitch Brad Nailer Kit gave it a score of 3.6 out of 5. Here's how the scores stacked up:


-12-
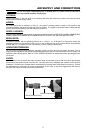
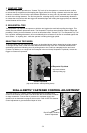
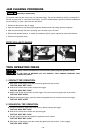
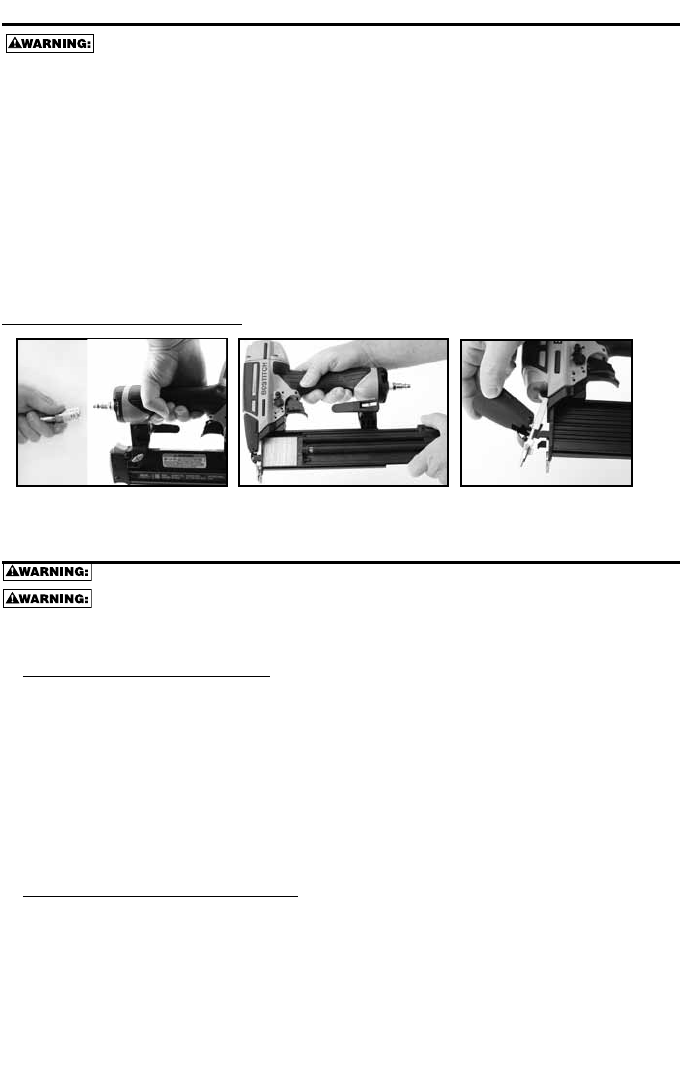
JAM CLEARING PROCEDURE
Disconnect tool from air supply before making adjustments or before attempting any part
assembly or disassembly.
On occasion nails can jam in the nose of a pneumatic nailer. This can be caused by striking a metal plate in
the wall, drywall screw, or some other hard object. The BTFP12233 features open drive channel architecture
for jam clearing. To clear a jam follow this procedure:
1. Disconnect the tool from the air supply.
2. Open the magazine by depressing the magazine release button and pulling open the magazine.
3. Open the jam clearing nose door by pulling down and then up on the latch.
4. Remove the jammed fastener. In certain circumstances, pliers may be required to remove the fastener.
5. Perform tool operation check.
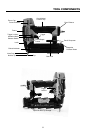
BTFP12233 JAM CLEARING
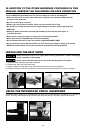
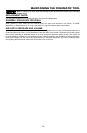
TOOL OPERATION CHECK
Always remove all fasteners from tool before performing tool operation check.
IF THE TOOL IS DROPPED OR YOU SUSPECT TOOL DAMAGE PERFORM TOOL
OPERATION CHECK.
1. CONTACT TRIP OPERATION:
A. With finger off the trigger, press the contact trip against the work surface.
THE TOOL MUST NOT CYCLE.
B. Hold the tool off the work surface, and pull the trigger.
THE TOOL MUST NOT CYCLE.
C. With the tool off the work surface, pull the trigger. Press the contact trip against the work surface.
THE TOOL MUST CYCLE.
D. Without touching the trigger, press the contact trip against the work surface, then pull the trigger.
THE TOOL MUST CYCLE.
2. SEQUENTIAL TRIP OPERATION:
A. Press the contact trip against the work surface, without touching the trigger.
THE TOOL MUST NOT CYCLE.
B. Hold the tool off the work surface and pull the trigger.
THE TOOL MUST NOT CYCLE.
C. Pull the trigger and press the contact trip against the work surface.
THE TOOL MUST NOT CYCLE.
D. With finger off the trigger, press the contact trip against the work surface. Pull the trigger.
THE TOOL MUST CYCLE.
1
2
3


Find Your Products By Category
Please Login
