

0
Owner's of the Black & Decker Lawn Mower Black & Decker 3-In-1 Electric Lawn Mower gave it a score of 0 out of 5. Here's how the scores stacked up:


7
lever and adjust the depth of the lever
by turning the lever. Close it again until
the teeth are fully clasped and each
lever stays securely closed.
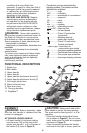
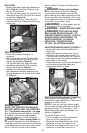
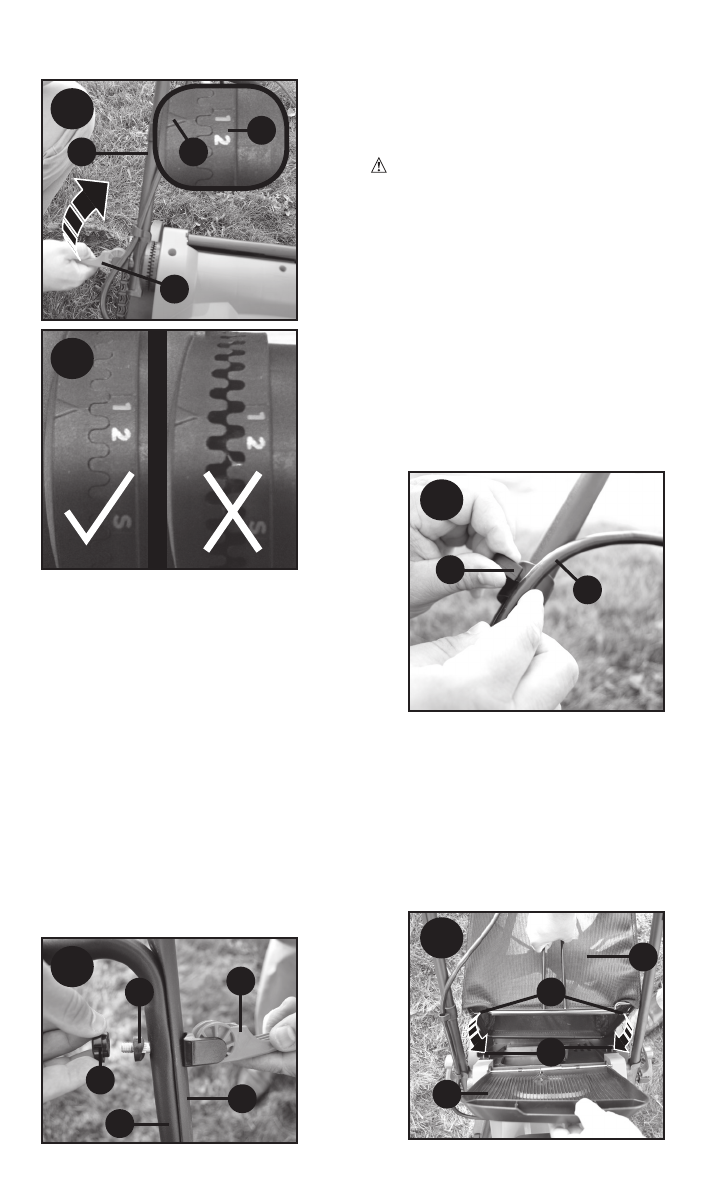
ATTACHING UPPER HANDLE (Figure E)
•Remove the upper-handle attachment
levers (5), nuts (17), and washers (18)
from the handle.
•Lineuptheholesonthebottomofthe
upper handle (3) with the holes on the
top of the lower handle (4).
NOTE: Make sure the cord is located on
the front of both handles. If it is not it may
result in the cord tangling and the inability
to easily store the mower.
•Fromtheoutsideoftheupperhandle
(3), slide the lever bolt through the holes.
•Slide the washer over the bolt of the
lever and loosely assemble the entire
assembly with the nut.
•Rotatetheupperhandleintoits
operating position.
•Closethelever.Ifitistootightortoo
loose, open the lever and the nut to adjust
the clamping. Check the levers by closing
them. They should be tight enough so the
handles are held firmly, but loose enough
so the levers can be fully closed. Adjust
by opening the lever and turning the nut
until the handles are secured.
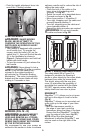
SECURING THE MOTOR CABLE
(FIGURE F)
CAUTION: ATTACH CABLE SO
THAT IT DOES NOT BECOME
STRETCHED OR PINCHED IN THE
JOINTS OF THE HANDLES DURING USE
OR FOLDING. THIS CAN CAUSE
DAMAGE TO THE CORD.
The motor cable (19) has to be fixed to
the handles using the cable restraints (20)
that are already attached to the handle.
To clip the cable to the handle:
•
Place the handles in operating position,
see “Attaching Lower Handle” section.
•
Run the cable up the front of the lower
and upper handles.
•
Pull back the cable restraint.
• Slidethemotorcableundertheclip
and ensure it is fully held in place by
the restraint.
D
E
17
5
18
3
4
C
6
4
16
15
F
19
20
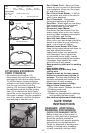
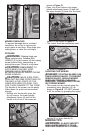
BAGGING
• Ensure the side discharge attachment
(24) (Figure I) and the mulching insert
(23) (Figure H) are removed from the
mower before bagging.
• Lift the rear door cover (9) and place
the grass collection bag (8) onto the
mower so the bag hooks (21) rest on
the lugs (22) as shown in Figure G.
Then lower the rear door cover.
8
9
G
22
21


Find Your Products By Category
Please Login
