
5.0
Owner's of the Makita Planer KP0810 gave it a score of 5.0 out of 5. Here's how the scores stacked up:
8
1
2
3
007647
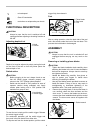
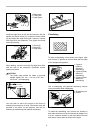
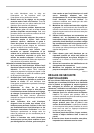
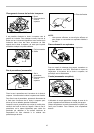
Install the edge fence on the tool and secure it with the
washer and thumb screw (A). Loosen the thumb screw
(B) and adjust the edge fence until it comes in contact
with the side of the workpiece. Then tighten the thumb
screw (B) securely.
1
2
3
007648
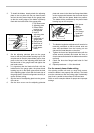
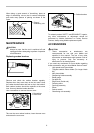
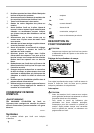
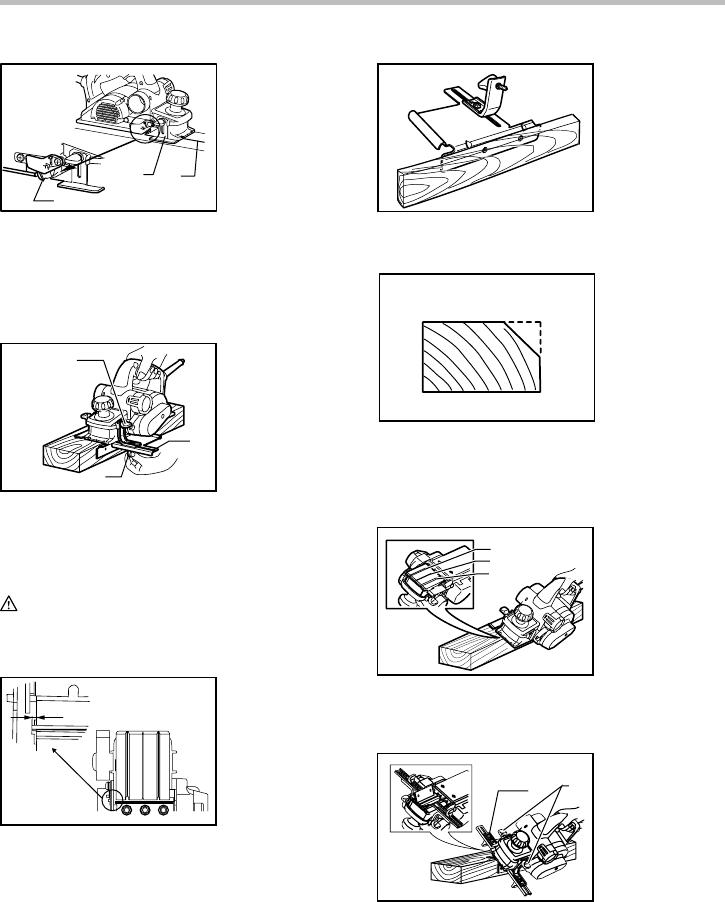
When planing, move the tool with the edge fence flush
with the side of the workpiece. Otherwise uneven
planing may result.
CAUTION:
• The blade edge should be made to protrude
outside slightly (0.2 mm - 0.4 mm (0.01 inch. -
0.015 inch. ) for shiplapping.
0.2 - 0.4mm
(0.01" - 0.015")
007715
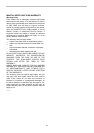
You may wish to add to the length of the fence by
attaching an extra piece of wood. Convenient holes are
provided in the fence for this purpose, and also for
attaching an extension guide (optional accessory).
007714
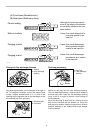
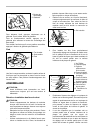
Chamfering
003634
To make a chamfering cut as shown in the figure, align
one of three "V" grooves in the front base with the edge
of the workpiece and plane it.
1
2
3
007650
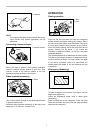
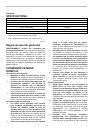
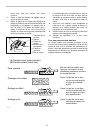
Use of chamfering rule (optional accessory) assures
more tool stability when shiplapping.
1
2
007653
To install the chamfering rule, remove two screws on
both sides of the front of the tool and set the depth of cut
to 4 mm. And then install it on the front base of the tool
and secure it the screws as shown in the figure.
1. Chamfering rule
2. Screws
1. V groove
(medium
amount of
chamfering)
2. V groove (small
amount of
chamfering)
3. V groove (great
amount of
chamfering)
1. Screw (A)
2. Screw (B)
3. Edge fence
1. Blade edge
2. Cutting line
3. Depth guide


Find Your Products By Category
Please Login
